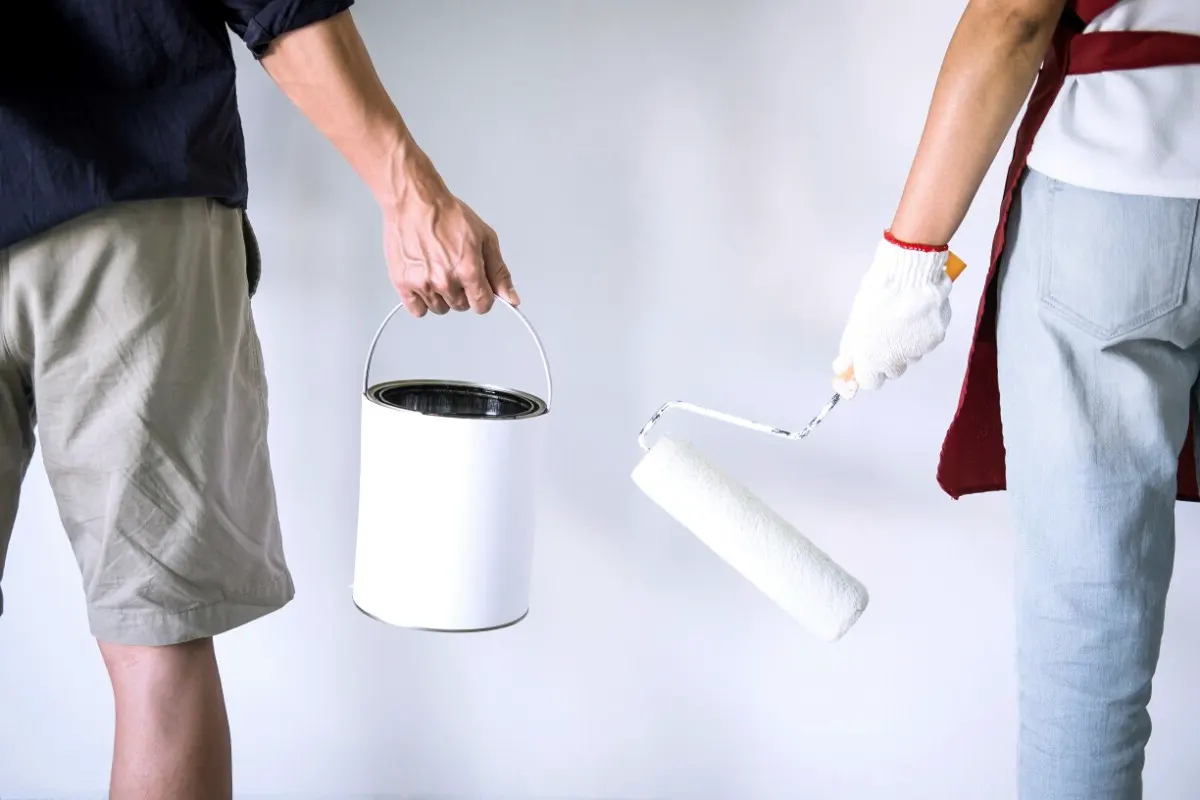
Paint drying and curing are more than just a waiting game – they are a critical process that determines the durability and appearance of a project. Understanding the complex process of paint drying and curing is essential for any successful painting project. In this article, CoatingsDirectory will explore how long these processes take, how to speed them up, and the importance of adhering to industry standards. By mastering these aspects, you can achieve long-lasting and professional painting results, whether you are a professional or a DIY enthusiast.
How Long Does Paint Take to Dry and Cure?
Understanding how long paint takes to dry and cure is essential for anyone who wants to achieve perfect results in their projects. While paint may appear dry to the touch within a few hours, most paints can take up to 30 days to fully cure in the elements.

How Long Does Paint Take to Dry and Cure
Drying, after all, is the process by which the solvents or water in the paint evaporate, leaving the surface dry to the touch. Curing, however, is a more complex chemical process by which the paint fully hardens and reaches its maximum durability. This curing process involves the paint molecules forming strong bonds, a process that can take much longer than drying. After spending a lot of time and money on a paint job, no one wants to touch it too soon, resulting in stains, textures, or peeling.
Comprehensive Drying and Curing Time Guide
Below is a comprehensive guide outlining typical drying and curing times for various polymer-based paints and different application scenarios. This table will help you plan and manage your painting projects more effectively by providing a clear timeline, ensuring that each painted surface has enough time to fully dry and cure.
| Typical Drying and Curing Timelines for Various Polymer Coatings | ||
|---|---|---|
| Paint Type | Typical Drying Time | Typical Curing Time |
| Acrylic Paint | 1-2 hours | 1-2 weeks |
| Solvent-Based Paint | 6-8 hours | 1-2 weeks |
| Polyurethane Paint | 2-4 hours | 7-10 days |
| Nitrocellulose Paint | 30 minutes – 1 hour | 5-7 days |
| Epoxy Paint | 2-4 hours | 7-10 days |
| Melamine Paint | 1-2 hours | 7-10 days |
| Alkyd Paint | 6-8 hours | 1-2 weeks |
| Unsaturated Polyester Paint | 2-4 hours | 7-14 days |
| Vinyl Paint | 1-2 hours | 5-7 days |
| Phenolic Paint | 4-6 hours | 10-14 days |
| Typical Drying and Curing Timelines for Various Application Scenarios | ||
|---|---|---|
| Application Scenario | Typical Drying Time | Typical Curing Time |
| Wood Furniture | 1-2 hours | 3-7 days |
| Metal Surfaces | 2-4 hours | 7-10 days |
| Interior Walls | 1-2 hours | 2-4 weeks |
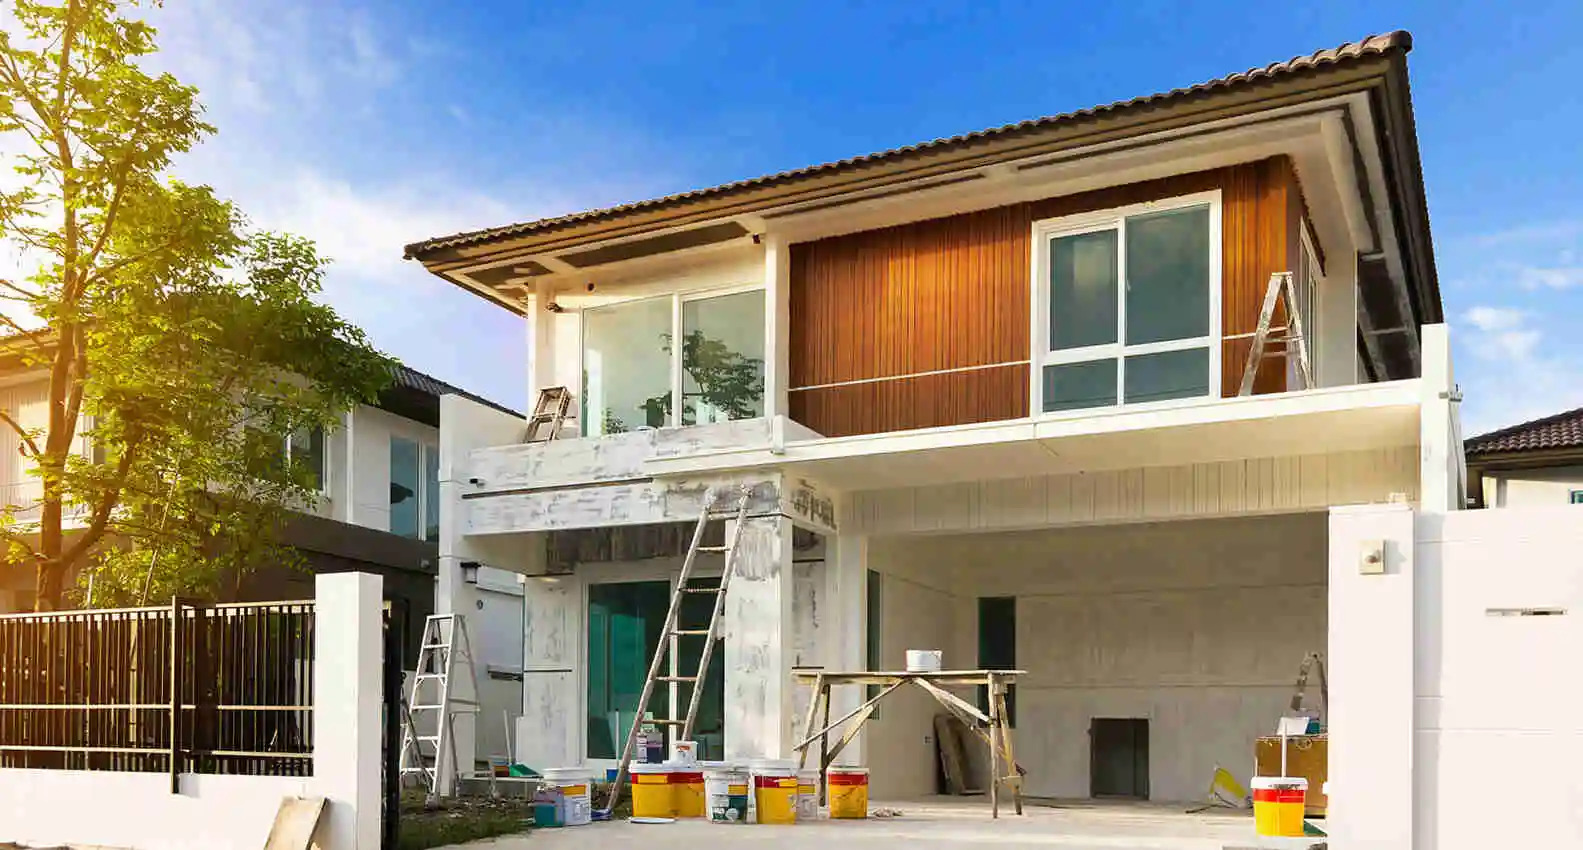
| Exterior Walls | 2-4 hours | 2-4 weeks |
| Kitchen Cabinets | 1-2 hours | 7-10 days |
| Bathroom Walls | 1-2 hours | 2-4 weeks |
| Doors and Trim | 1-2 hours | 7-10 days |
| Concrete Floors | 2-4 hours | 1-2 weeks |
| Outdoor Furniture | 2-4 hours | 1-2 weeks |
| Commercial Interiors | 1-2 hours | 2-4 weeks |
| Industrial Equipment | 2-4 hours | 7-14 days |
| Automotive Parts | 1-2 hours | 7-10 days |
The times listed above are general guidelines and may vary depending on a variety of factors, including temperature, humidity, and airflow. For a more in-depth look at these factors and how they can affect your paint drying and curing times, we invite you to check out our detailed blog post on “Factors That Affect Paint Drying and Curing.” Understanding these variables will help you better manage your painting projects and achieve the best results.
In summary, while drying times may be fast, curing times are typically much longer. During this curing period, paint is still susceptible to damage, so it’s best to avoid extensive cleaning, placing items on the surface, or subjecting it to abrasion until it is fully cured. It’s therefore imperative to allow the painted surface ample time to fully harden. By following the timelines in the above guide, you can ensure that your project is not only beautiful, but also durable. Remember, patience pays off when painting!
How Can You Speed Up Paint Drying and Curing?
From the reading above, we already know how long the paint drying and curing process typically takes. Now, let’s delve into the methods that can be used to speed up these processes. By optimizing ambient temperature, humidity, and airflow, using accelerators or additives, applying specific techniques, and using specialized curing equipment, you can achieve a faster, more efficient finish without compromising quality.

Speed up paint drying and curing
- Environmental Temperature: Increasing the temperature of your painting environment is one of the most effective ways to accelerate both drying and curing times. Higher temperatures enhance the evaporation rate of solvents and speed up the chemical reactions necessary for curing. For indoor projects, space heaters can be used to maintain a warm and consistent temperature. When painting outdoors, try to choose warmer parts of the day while avoiding direct sunlight, which can cause the paint to dry too quickly and potentially crack.
- Environmental Humidity: Reducing humidity levels in your painting environment can significantly speed up the drying and curing processes. High humidity slows down solvent evaporation and can interfere with the curing reactions. Using a dehumidifier in your indoor painting space can help create the ideal conditions for paint to dry and cure more quickly. For outdoor projects, painting on dry days with lower humidity levels can also be beneficial.
- Environmental Airflow: Improving airflow around the painted surface can help remove evaporated solvents more quickly, thus accelerating drying. Fans and proper ventilation are key to maintaining good airflow. Position fans strategically to ensure even circulation of air without causing dust particles to settle on the wet paint. For indoor projects, opening windows can enhance natural ventilation, aiding the drying process.
- Use of Accelerators or Additives:Certain chemicals, known as accelerators or additives, can be mixed with paint to speed up drying and curing times. These products are designed to enhance the paint’s performance by promoting faster solvent evaporation and more rapid curing reactions. It’s important to follow the manufacturer’s instructions when using these additives to ensure the best results and avoid any adverse effects.
- Application Techniques: The way you apply paint can also influence drying and curing times. Applying thinner coats of paint allows each layer to dry faster, reducing the overall time required. Properly mixing the paint before application ensures even distribution of solvents and additives, promoting uniform drying and curing. Multiple thin coats are generally more effective than one thick coat in achieving a quick and smooth finish.
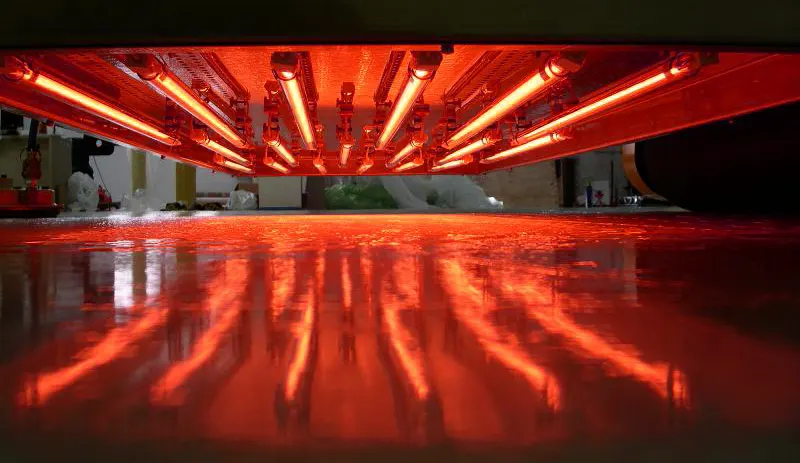
- Using Specialty Curing Equipment:For industrial applications or large projects, using specialty curing equipment can greatly speed up the drying and curing process. Equipment such as UV lamps, infrared heaters, and curing ovens are specifically designed to create optimal conditions for rapid curing. These tools provide controlled heat and light that can significantly reduce curing time. If you are looking to purchase equipment to accelerate the curing of coatings for your project, the CoatingsDirectory platform can help you find the right curing equipment and supplier for your specific needs.
By optimizing environmental conditions, using accelerators or additives, employing effective application techniques, and considering specialized curing equipment, you can significantly reduce the drying and curing times of your paint projects. These strategies not only save you time but also ensure a durable and high-quality finish. Remember, balancing speed with proper technique is key to achieving the best results. Happy painting!
What Are Best Practices for Achieving Optimal Paint Drying and Curing?
Achieving a flawless painting result isn’t just about applying the right color, it’s also about making sure the paint dries and cures properly. Taking a few necessary steps will keep the surface smooth and durable, rather than flaking or cracking over time. Follow along with coatingsdirectory to explore some key steps to help you achieve the best results and have fun in the process!

Using UV or infrared light to speed up paint curing
- Surface Preparation:
Before you even think about starting a job, proper surface preparation is essential. Imagine trying to put a bandage on a surface that’s covered in dust and oil—it just won’t stick! The same goes for paint. Start by cleaning the surface to remove dirt, grease, and any old, flaking paint. Lightly sanding the surface can also help the paint adhere better by creating some texture that makes it easier for the paint to adhere to.
If you’re painting a porous surface, like wood or drywall, consider using a primer first. A quality primer not only helps the paint stick, but it also creates an even base for the color to shine. So remember: a clean, smooth surface is the first step to success! - Proper Application Technique:
When applying paint, technique is important. You want to apply it evenly and smoothly, not thick in some places and thin in others. Apply thin, even coats using a brush or roller designed for the specific paint type and surface. It’s tempting to go all over the paint with your brush for quick coverage, but resist the urge! Thick coats can lead to longer drying times, uneven curing, and even dripping or sagging. Of course, in addition to hand painting, you can also choose other paint application methodsbased on actual conditions.
Apply paint lightly and evenly, waiting for each layer to dry completely before adding the next. This patience will pay off in the long run, giving you professional results that are as smooth as glass. - Monitor environmental conditions:
The environment plays a big role in the drying and curing of paint. Just like baking a cake, you need the right temperature and humidity for the best results. Ideally, you should paint at temperatures between 50°F and 85°F (10°C to 30°C) with humidity levels between 40% and 70%. Too cold and the paint won’t dry properly; too hot and the paint may dry too quickly, resulting in a brittle surface.
Humidity is another factor to consider. High humidity will slow drying, while low humidity can cause the paint to dry too quickly, preventing it from curing properly. If the weather isn’t cooperating, consider postponing your project or moving it indoors to a controlled environment. - Choose quality coatings materials:
Not all paints are created equal. Using high-quality paints and primers can significantly improve the drying and curing process. Premium paints are formulated with higher-quality polymer materials and pigments for smoother application, faster drying, and longer-lasting finishes.
Also, don’t forget to invest in quality paint application tools or equipment. When doing it manually, good brushes and rollers can hold more paint and apply it more evenly, saving you time and energy. When doing industrial batch construction, superior and reliable coatings application equipment can quickly help us achieve high-quality and reliable artistic effects. - Use curing equipment:
For some projects, especially those involving industrial or specialty coatings, curing equipment can be a game changer. Tools such as heat lamps, drying chambers, infrared heaters, or UV curing systems can speed up the curing process, ensuring a strong and durable surface in a shorter time. These devices are particularly useful in environments where natural conditions are not suitable for curing or when using coatings that require specific curing conditions.
If you’re looking for the best curing equipment, we have what you need. Check out our curing equipment supplier directory to find the perfect solution for your project.
In the painting world, patience and precision are your best friends. By preparing your surface, painting correctly, monitoring environmental conditions, and using quality materials, you’ll set yourself up for success. If you need a little extra help, curing equipment can give your paint the boost it needs to reach its full potential. So the next time you’re preparing for a construction project, keep these best practices in mind and enjoy the process of creating a beautiful surface that will stand the test of time!
How Do Industry Standards Affect Paint Drying and Curing?
In the world of coatings and paints, drying and curing are more than just natural processes—they’re meticulously regulated steps that can significantly impact the quality, durability, and safety of the final product. Different industries, from automotive to residential, adhere to specific standards to ensure that paint applications meet strict criteria. Let’s explore how these industry standards influence the drying and curing of paint across various sectors.
Automotive Industry: Precision and Performance

In the automotive industry, paint isn’t just for aesthetics; it plays a crucial role in protecting the vehicle’s body from corrosion, UV damage, and wear. The drying and curing processes are critical to achieving a flawless, durable finish that can withstand the rigors of the road.
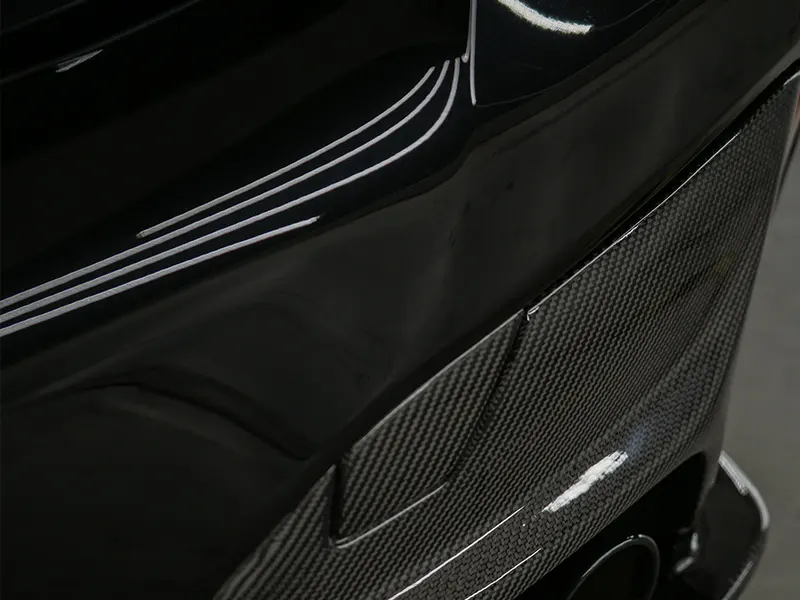
Automotive standards, such as those set by the Society of Automotive Engineers (SAE) and the International Organization for Standardization (ISO), dictate the specific conditions under which paint should dry and cure. These standards often require the use of controlled environments, such as paint booths with precise temperature and humidity controls. For example, the curing process might involve baking the painted vehicle at high temperatures to ensure the paint properly bonds with the substrate, creating a hard, protective layer. Deviating from these standards can result in poor adhesion, uneven finishes, or reduced durability, ultimately compromising the vehicle’s appearance and longevity.
Industrial Coatings: Robustness and Resistance
Industrial coatings are applied to machinery, infrastructure, and equipment that must endure harsh environments, including extreme temperatures, chemicals, and physical wear. As a result, the drying and curing processes are heavily regulated to ensure the coatings provide maximum protection.
Standards from organizations like ASTM International and NACE International set forth guidelines for drying and curing times, ambient conditions, and testing procedures. These standards ensure that coatings achieve the necessary hardness and chemical resistance before the equipment is put into service. For instance, in the oil and gas industry, coatings on pipelines must cure to a specific hardness before they are buried or exposed to corrosive environments. These standards help prevent costly failures, such as coating degradation or corrosion, which could lead to equipment downtime or catastrophic failures.
Commercial Buildings: Aesthetic and Functional Durability
In the commercial building sector, paint standards are not only about aesthetics but also about durability and environmental safety. Organizations like the Master Painters Institute (MPI) and LEED (Leadership in Energy and Environmental Design) provide guidelines for paint drying and curing that emphasize low VOC (volatile organic compounds) emissions, durability, and long-lasting performance.
For commercial buildings, these standards often dictate the types of paint that can be used, as well as the conditions under which they must dry and cure. For example, a low-VOC paint might be required to cure in a controlled environment to minimize emissions and ensure it achieves the desired finish. The drying and curing process must also be timed to allow the building to be occupied as soon as possible without compromising air quality or the integrity of the paint.
Residential Paints: Safety and Longevity In the residential sector, standards focus on ensuring the safety, durability, and aesthetic appeal of painted surfaces. The American Society for Testing and Materials (ASTM) and the Environmental Protection Agency (EPA) provide guidelines that influence how residential paints are formulated, applied, and cured.
These standards ensure that paints dry and cure in a way that minimizes health risks, especially in homes with children or individuals with respiratory issues. For example, standards might dictate the acceptable levels of VOCs in paints and require that they cure fully before a room is considered safe for occupancy. Additionally, curing standards ensure that the paint can withstand everyday wear and tear, such as cleaning, without chipping or fading prematurely.
In summary, the drying and curing of paint is an important step that affects the longevity and quality of a project. Adhering to best practices and industry standards can significantly affect the results. For those seeking further expertise or the right equipment, coatingsdirectory.com provides a comprehensive platform to find the best coating service providers and drying and curing equipment manufacturers. Take advantage of this tool to streamline your projects and achieve the best results.
How do you know when paint is fully cured?
If the paint is hard and doesn’t feel tacky or soft to the touch, it’s completely dry. But check to see if the paint molecules are bonding to form a strong, durable surface. Press lightly with your fingernail to the surface; if it leaves a mark, it’s not fully cured. If it’s fully cured, your paint won’t show any dents and has a hard surface, ready to handle anything life throws at it.
What is the difference between drying and curing?
Drying means the paint feels dry to the touch, while curing means the paint is completely hardened and tough enough to resist scratches and stains.
In more technical terms, drying means the solvent or water in the paint evaporates, leaving a dry film. This process is relatively quick, usually taking a few hours. However, curing is a slower chemical process where the paint molecules fully bond together to form a strong, resilient surface. While your paint may feel dry after a day, it may take weeks to fully cure. Understanding this difference is key to knowing when your painted surface is ready for use. Detailed definitions of paint drying and curing can be found in our corresponding blog.
How to fix common drying and curing problems?
If your paint isn’t drying or curing properly, start by checking the ambient temperature and humidity—they play an important role. Painting in a cold or humid room can slow down the process, causing the paint to remain tacky long after it’s dried. To fix this, make sure you paint in the right conditions—ideally, temperatures between 50°F and 85°F (10°C and 30°C) with low humidity. If you’re already experiencing problems, try increasing ventilation or using a dehumidifier.

